Getting started
1
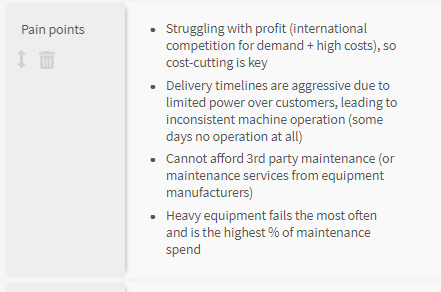
Go to the Knowledge page and look at the table. You'll see a row that says "Pain points". Write down all pain points of your customer that you can think of, using hyphens - to denote bullets.
For example, "my direct reports are asking me for more professional development opportunities" or "I can't get to work on time on Mondays.
2
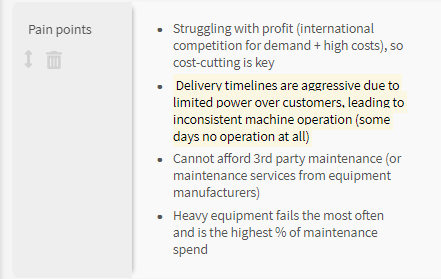
Highlight the bullets that are the biggest 5 pain points, by using the keyboard shortcut Command + M.
3
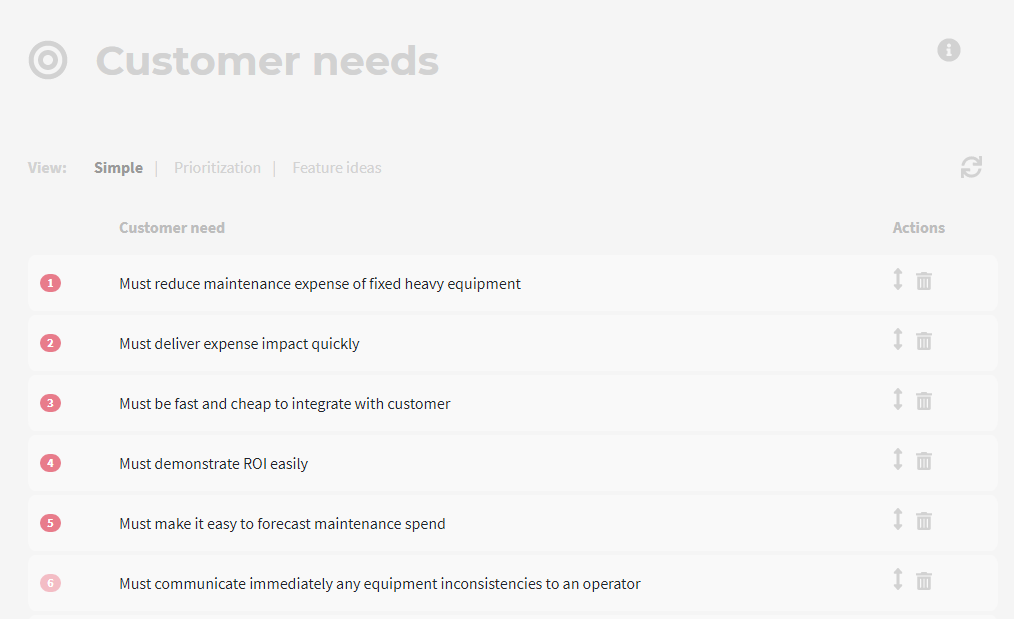
Go to the Customer needs page.
Add each of these 5 pain points as a customer need, making sure to rephrase them so they read like needs.
For instance, "I can't get to work on time on Mondays" might become "Customers need to get to work on time on Mondays".
4
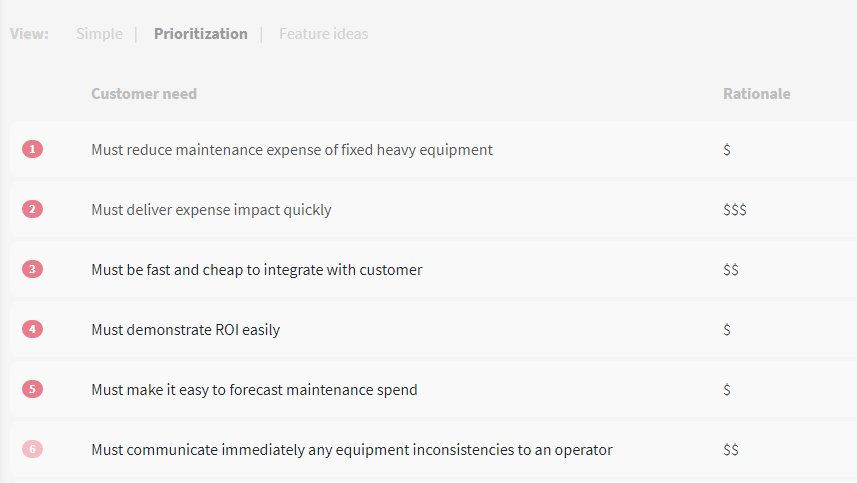
Switch to the "Prioritization" tab.
For each customer need, write one, two or three dollar signs to indicate how much your customer would be willing to pay if this need were completely solved.
5
Re-prioritize the customer needs according to their dollar signs, from high to low.
You now have your first list of prioritized customer needs.
6
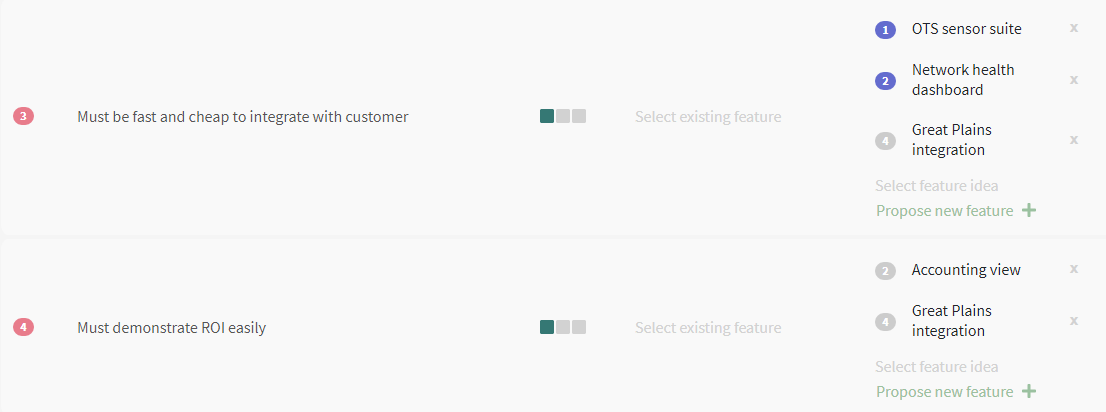
Now the fun part. Switch to the "Feature ideas" tab.
For each of your customer needs, brainstorm and list a few features that could solve these needs. (If you already have features in your product, you should still list them as new features for now.)
You can map one feature to multiple needs by clicking Select feature idea.
7
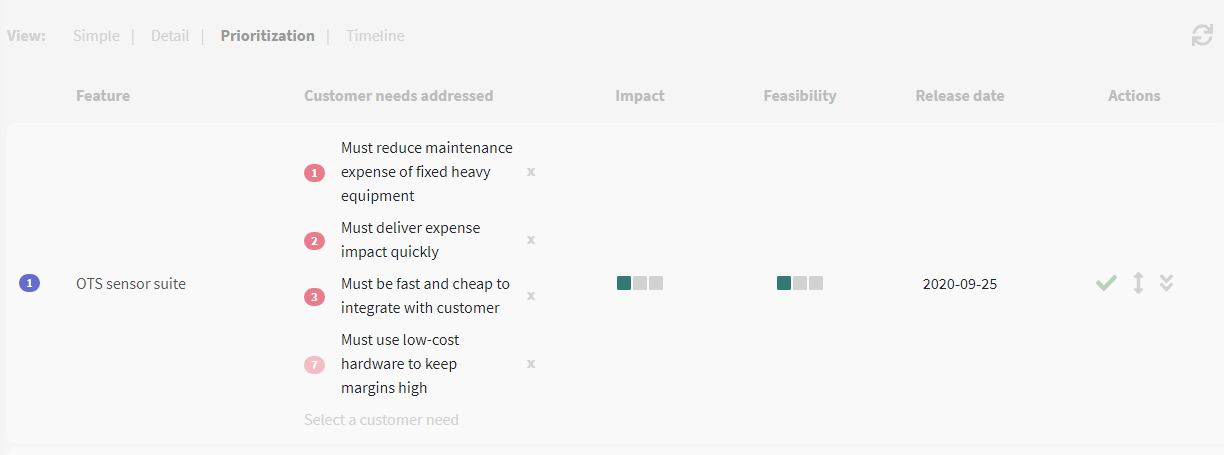
Go to the New features page, and click on the "Prioritization" tab. You can now see all the customer needs touched by each feature.
For each feature, designate its "Impact" and "Feasibility".
- "Impact" means "what's the size of impact of this feature on the most important customer needs?"
- "Feasibility" means "how easy and cheap is this feature to execute?"
8
Move your features up and down based on their priority, i.e. how high their impact and feasibility is.
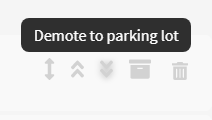
Promote features that you definitely want to build. Demote (to parking lot) features that you want to put on ice indefinitely.
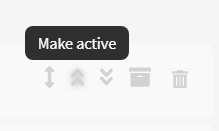
Your promoted features are called you active features.
9
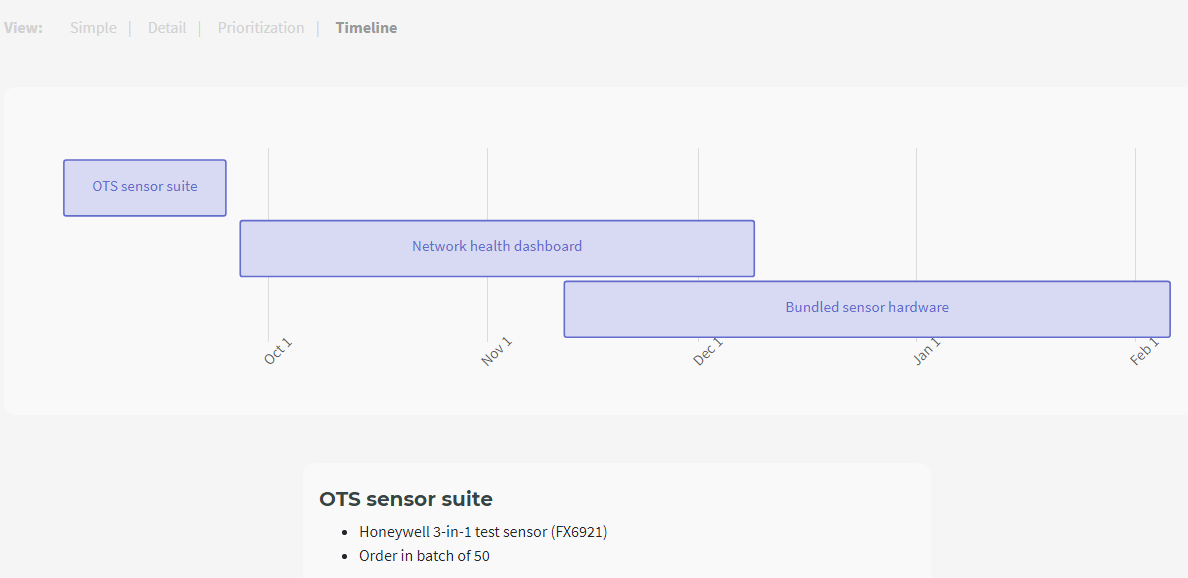
If you give each of your active features a start and end date, they'll appear in your roadmap.
Click on the "Timeline" tab to see this.
Detailed documentation
That's it for the tutorial - for advanced usage of Sapeum's product planning, find more detail in Features.